LET'S TALK ABOUT 3D SCANNING |
|
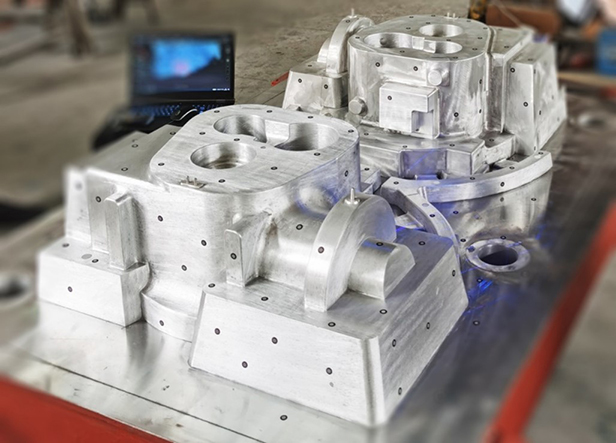
Background With the rapid development and tremendous technical progress across industries in the past decade, the structural design of products has become more complex and there has been an unseen amount of diverse mold contours. With the proportion of free-form surfaces increasing and the precision requirements for mold processing rising, the discipline of mold measuring is faced with unprecedented challenges. Traditional mold measurement is conducted using contact measuring tools such as vernier measuring tools or micrometers. Only a few attributes such as mold width, height, and depth can be measured, while the curvature of the surfaces and sunken surfaces are difficult to measure with these tools. These measuring methods are not only complicated and time consuming, but it is also difficult to ensure measuring quality and accuracy of large-size molds, making mold measuring a very time-consuming and laborious part of industrial manufacturing. For this reason, non-contact 3D scanner measurement has gradually attracted the attention of the mold manufacturing industry and has become one of the main methods of industrial mold measuring due to its abilities of overcoming the deficits of traditional measuring methods and achieving high-quality inspection. The aluminum mold A mold factory made a 1.5m x 1m aluminum mold. Due to the significant differences in processing equipment and technology, in many cases the mold cannot reach the required accuracy after several production runs, hence mold measuring is a necessary step in the manufacturing process of industrial products. Due to the large size of the aluminum mold, the traditional manual measuring tools are not able to obtain the comprehensive data information of the mold accurately. In order to improve the current dilemma of poor measuring results and inefficient measuring work, the mold factory chose to use a handheld 3D scanner to perform 3D measurement of the mold.
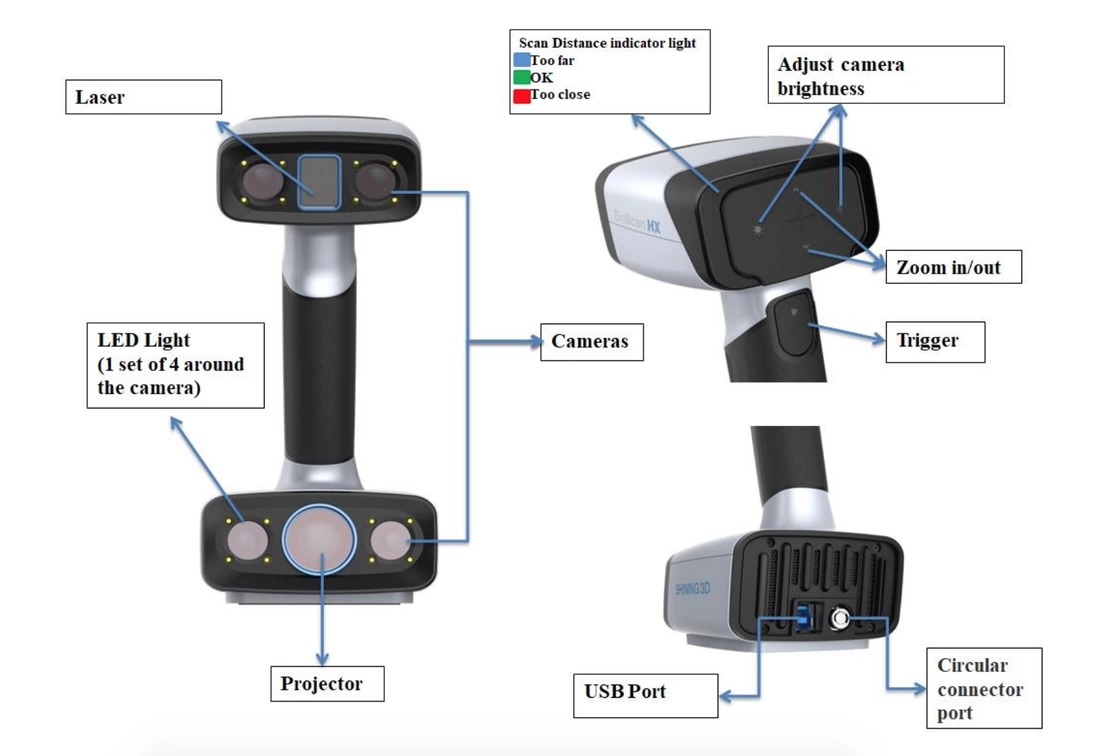
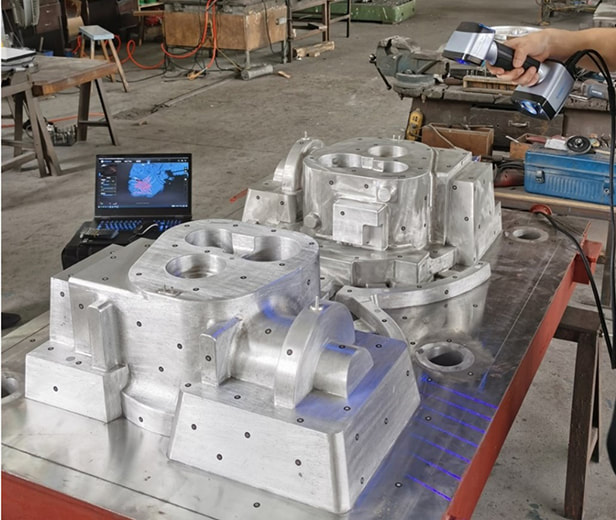
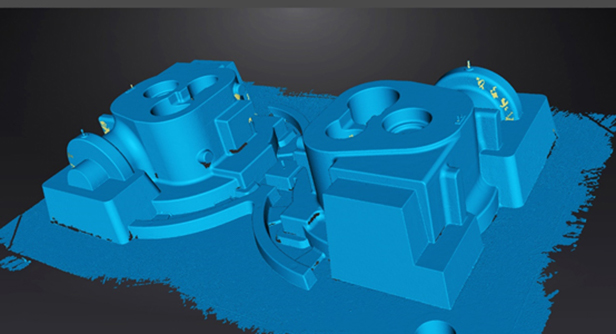
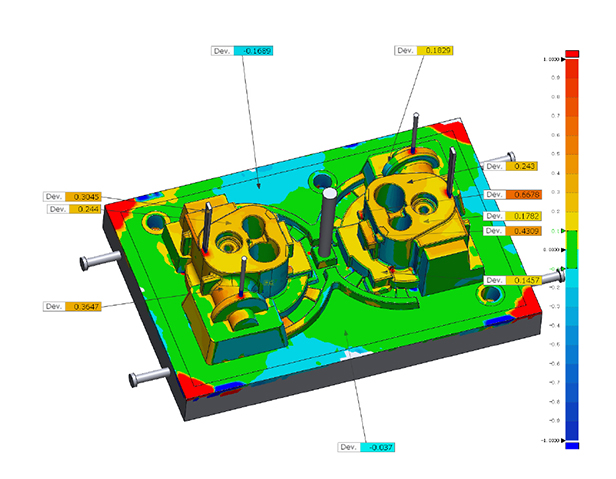
Measurement and Analysis Process Step 1: Application of Reference Points For this scan the laser scan mode of EinScan HX was selected. Before scanning, reference points were applied on the reflective aluminum mold. Step 2: 3D Scanning The laser mode has a scanning speed of 480,000 points/sec. The technician spent only 10 minutes to obtain the complete high-precision 3D model data of the aluminum mold directly. Step 3: 3D Measurement Data and Analysis In order to check whether the aluminum mold meets the accuracy requirements, the scanned aluminum mold data and a digital model of the original design were imported into the measuring software Geomagic Control X. After the coordinates were aligned, the deviation comparison analysis was performed using the chromatogram to obtain the annotated deviation diagram. Finally the measuring report was exported. In the case study above, we introduced the application of EinScan HX using the laser mode to measure large-size aluminum mold. The scanning process took less than 30 minutes from applying reference points to 3D scanning to obtaining the final comparison analysis report. This method saved a lot of time in relation to traditional measuring methods and solved many parametrical problems which cannot be detected by traditional measuring tools. In addition, when opting for the rapid scan mode of EinScan HX, the blue LED light source can be used to scan and obtain the 3D data of mold parts with obvious characteristics without the need of sticking marker points. This improves the efficiency of the whole data acquisition process and satisfies various needs of users, as well as providing a fast forward and feasible solution for product measuring and reverse engineering. If you want to learn more about EinScan HX, you can read the full product review here. Growshapes is an HP Silver Partner of HP 3D scanning solutions and the official U.S. distributor of Shining 3D EinScan 3D scanners. We are now carrying the eviXscan 3D scanner from Evatronix too!
See the innovators on Growshapes’ social media channels to get the latest expert news on innovation in 3D digitization, then share your thoughts and join the conversation about 3D digital innovation with #digitize3D.
3 Comments
7/27/2022 08:32:34 am
very interesting, good job and thanks for sharing such a good blog.
Reply
7/27/2022 09:32:39 am
With the proportion of free-form surfaces increasing and the precision requirements for mold processing rising, the discipline of mold measuring is faced with unprecedented challenges. Thank you for sharing your great post!
Reply
8/29/2022 04:24:37 am
Excellent work. Mold measuring is facing unprecedented challenges as the proportion of free-form surfaces increases and the precision requirements for mold processing increase.
Reply
Leave a Reply. |
GrowshapesProvider of leading edge 3D scanning products and services. We see 3D! Archives
July 2024
Categories
All
|
|
Vertical Divider
GROWSHAPESStay connected |
Menu |
©2024 Growshapes LLC. All rights reserved.

 RSS Feed

