Growshapes
  • 3D Scanner Store
    • Shop Best Sellers
    • Handheld 3D Scanners
    • Desktop 3D Scanners
    • Rent & Try Before You Buy
    • Shining 3D
      • EinScan Reverse Engineering Packages
      • EinScan Libre
      • EInScan HX2
      • EinScan HX
      • EinScan H2
      • EinScan Pro HD
      • EinScan Pro 2X V2
      • Transcan C
      • EinScan SP V2
      • EinScan SE
      • Einstar
      • EXModel Software
      • EinScan Accessories
        • Industrial Pack for EinScan Pro Series
        • Color Pack for EinScan Pro Series
        • EinScan Pro Power Bank
    • Matter and Form
    • eviXscan3D
      • eviXscan3D Quadro+
      • eviXscan3D Optima + M
      • eviXscan3D WideRange 65
      • eviXscan3D Fine Precision
      • eviXscan3D Suite 2.8
      • eviXmatic
    • 3D Scanner Sale!
  • Learn More
    • Support & Training Videos
    • 3D Scanning FAQ
      • EinScan 3D Scanner FAQ
      • HP 3D Scanner FAQ
    • Case Studies
    • 3D Scan Gallery
  • 3D Scan Blog
  • Contact Us
  • About
    • Terms and Conditions
    • Privacy Notice
    • Fact Sheet
408-667-6877
  • Best Sellers
  • >
  • EinScan H2

EinScan H2

SKU: 6970163084121
$5,299.00
$5,299.00
Unavailable
per item
The EinScan H2 improves on its predecessor with 5MP resolution texture camera, Enhanced accuracy up to 0.1mm in IR mode and 3 infrared VCSEL projectors

Its wide scanning area and adjustable working distance make it suitable for various scenes and objects, both small and large, in narrow or wide spaces. Optimized for face and body scanning with flashless infrared technology, advanced hair enhancement algorithm that captures both light and dark hair as well as the non-rigid algorithm in IR mode that automatically compensates for slight movements to eliminate misalignment challenges.


EinScan H 3D Scanner | Calibration Panel | Markers | ExScan H 3D scanner software (perpetual license with automatic updates)
Add to Cart

EinScan H2 Technical Specifications

Picture

EinScan H2 in Action

Vertical Divider
Overview
Vertical Divider
Scanning in IR Mode
Scanning in White Light Mode

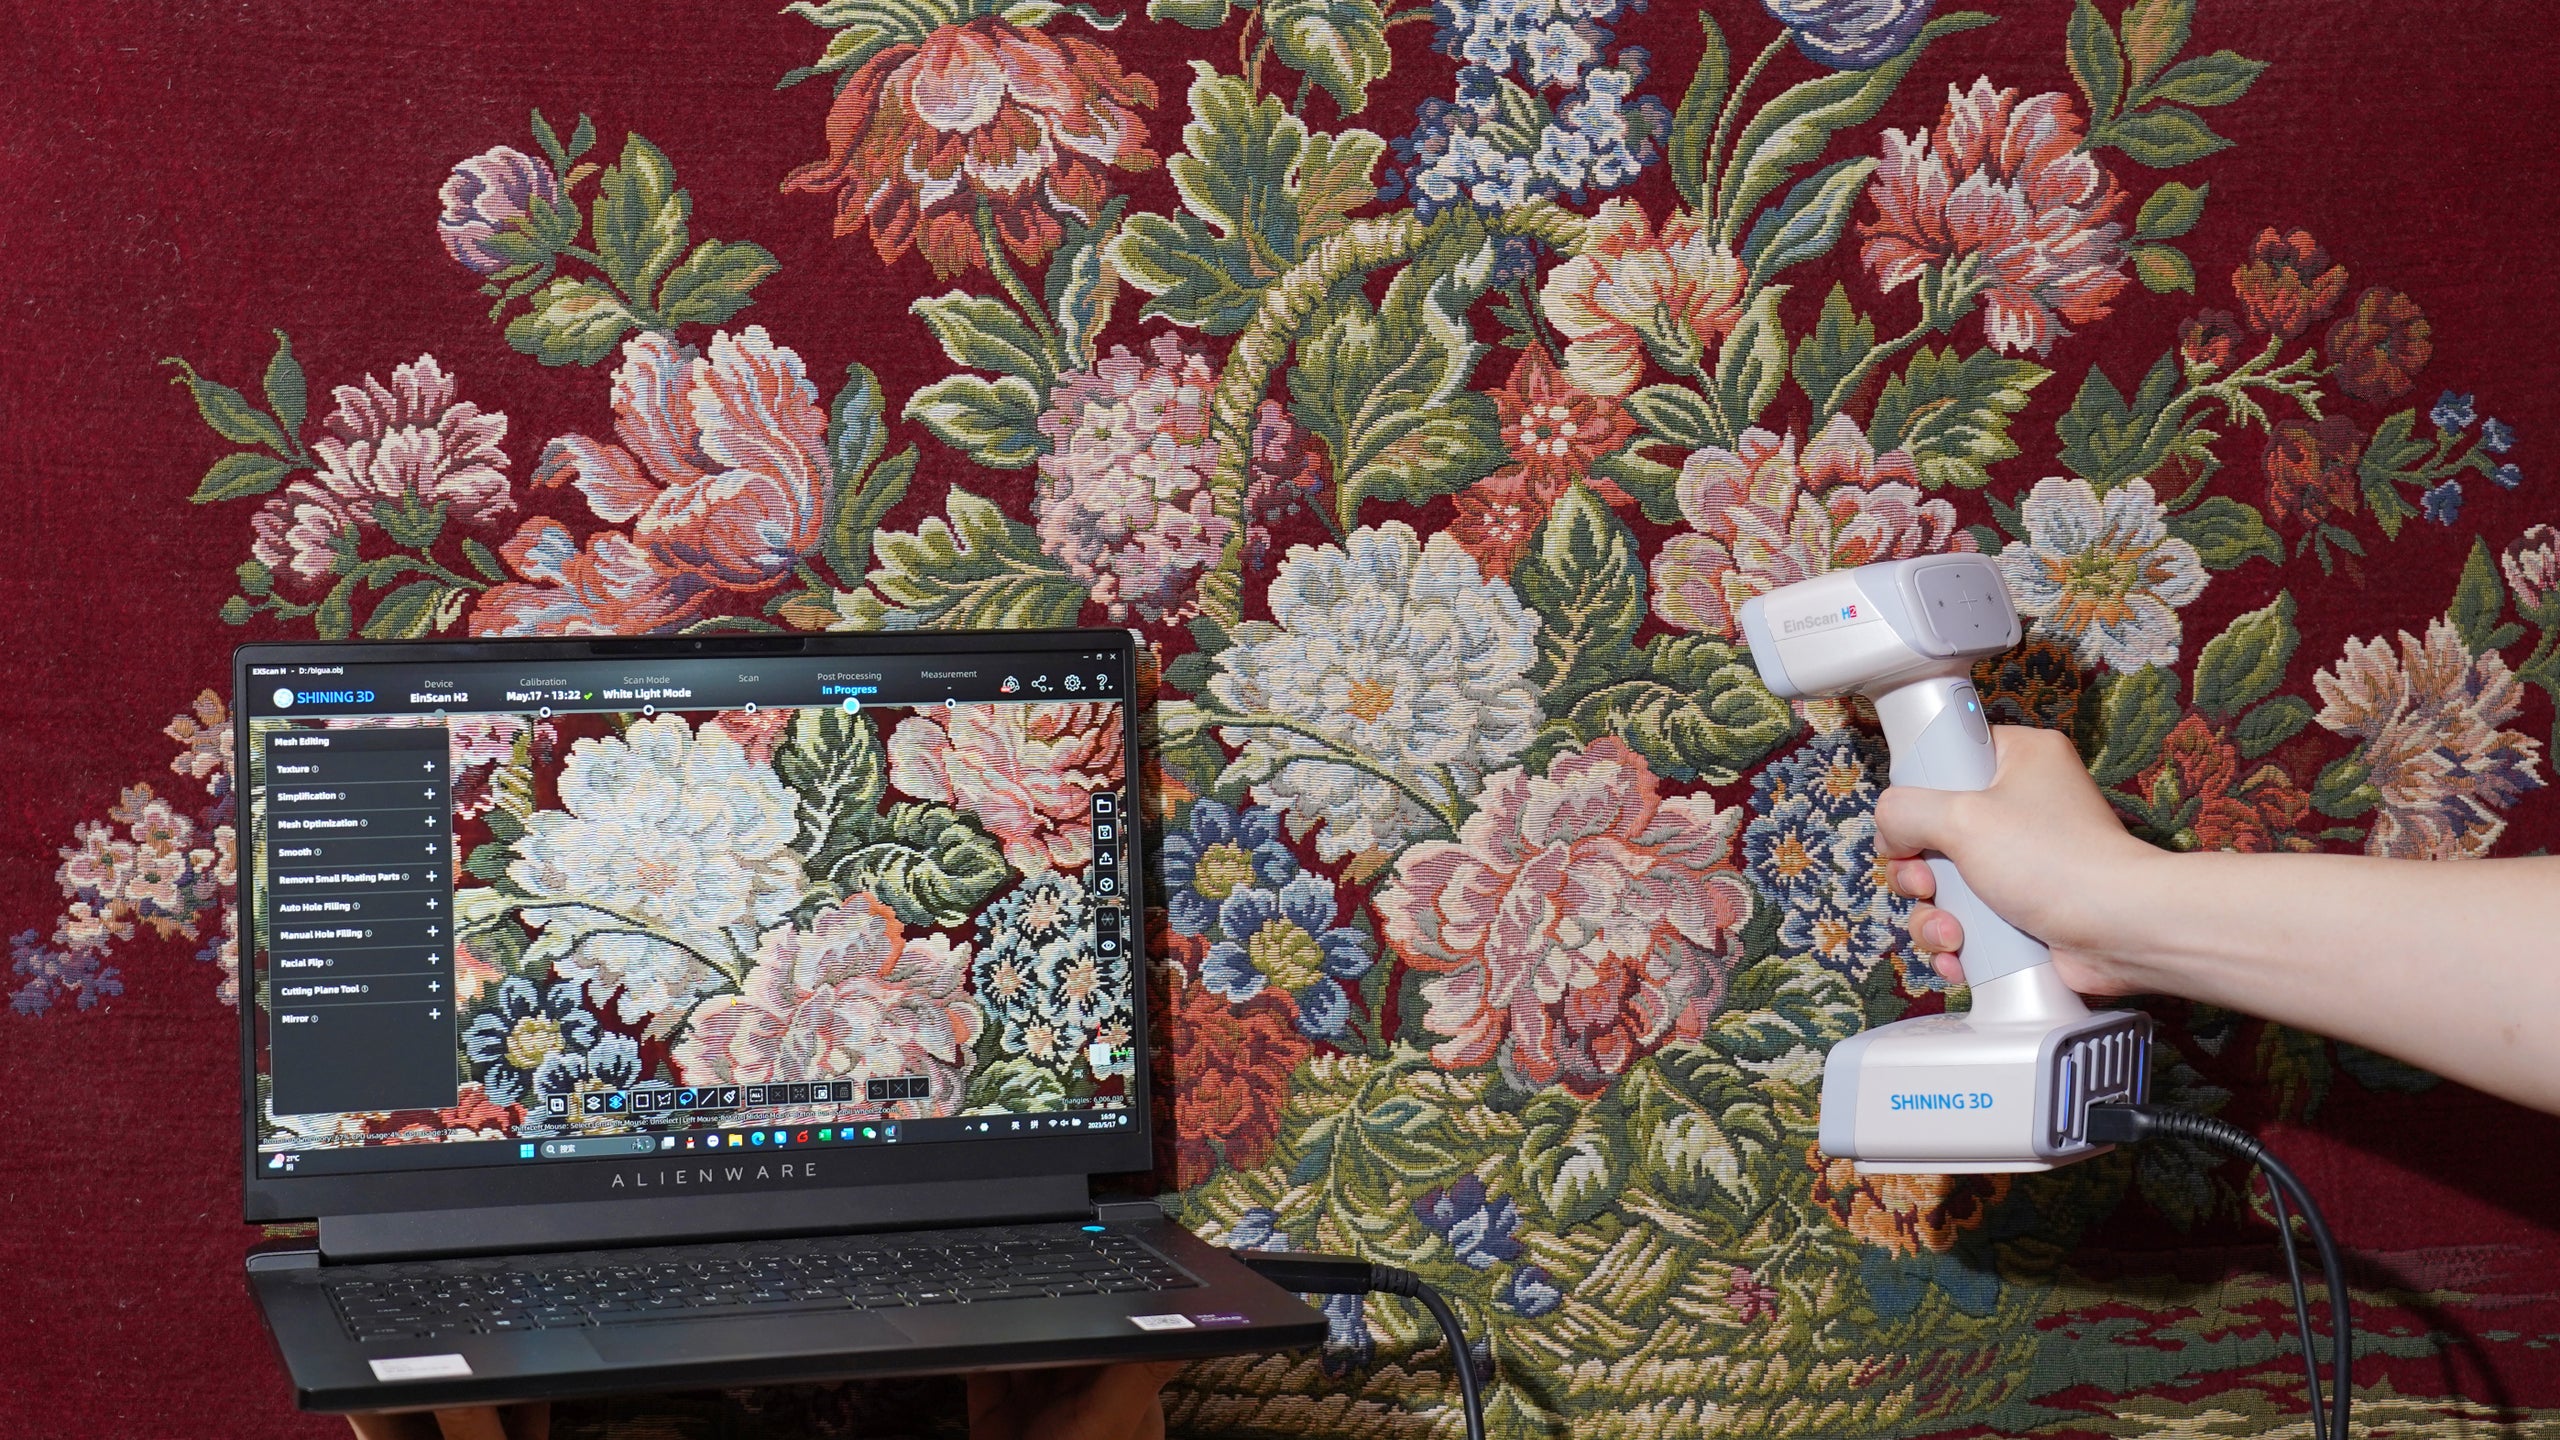
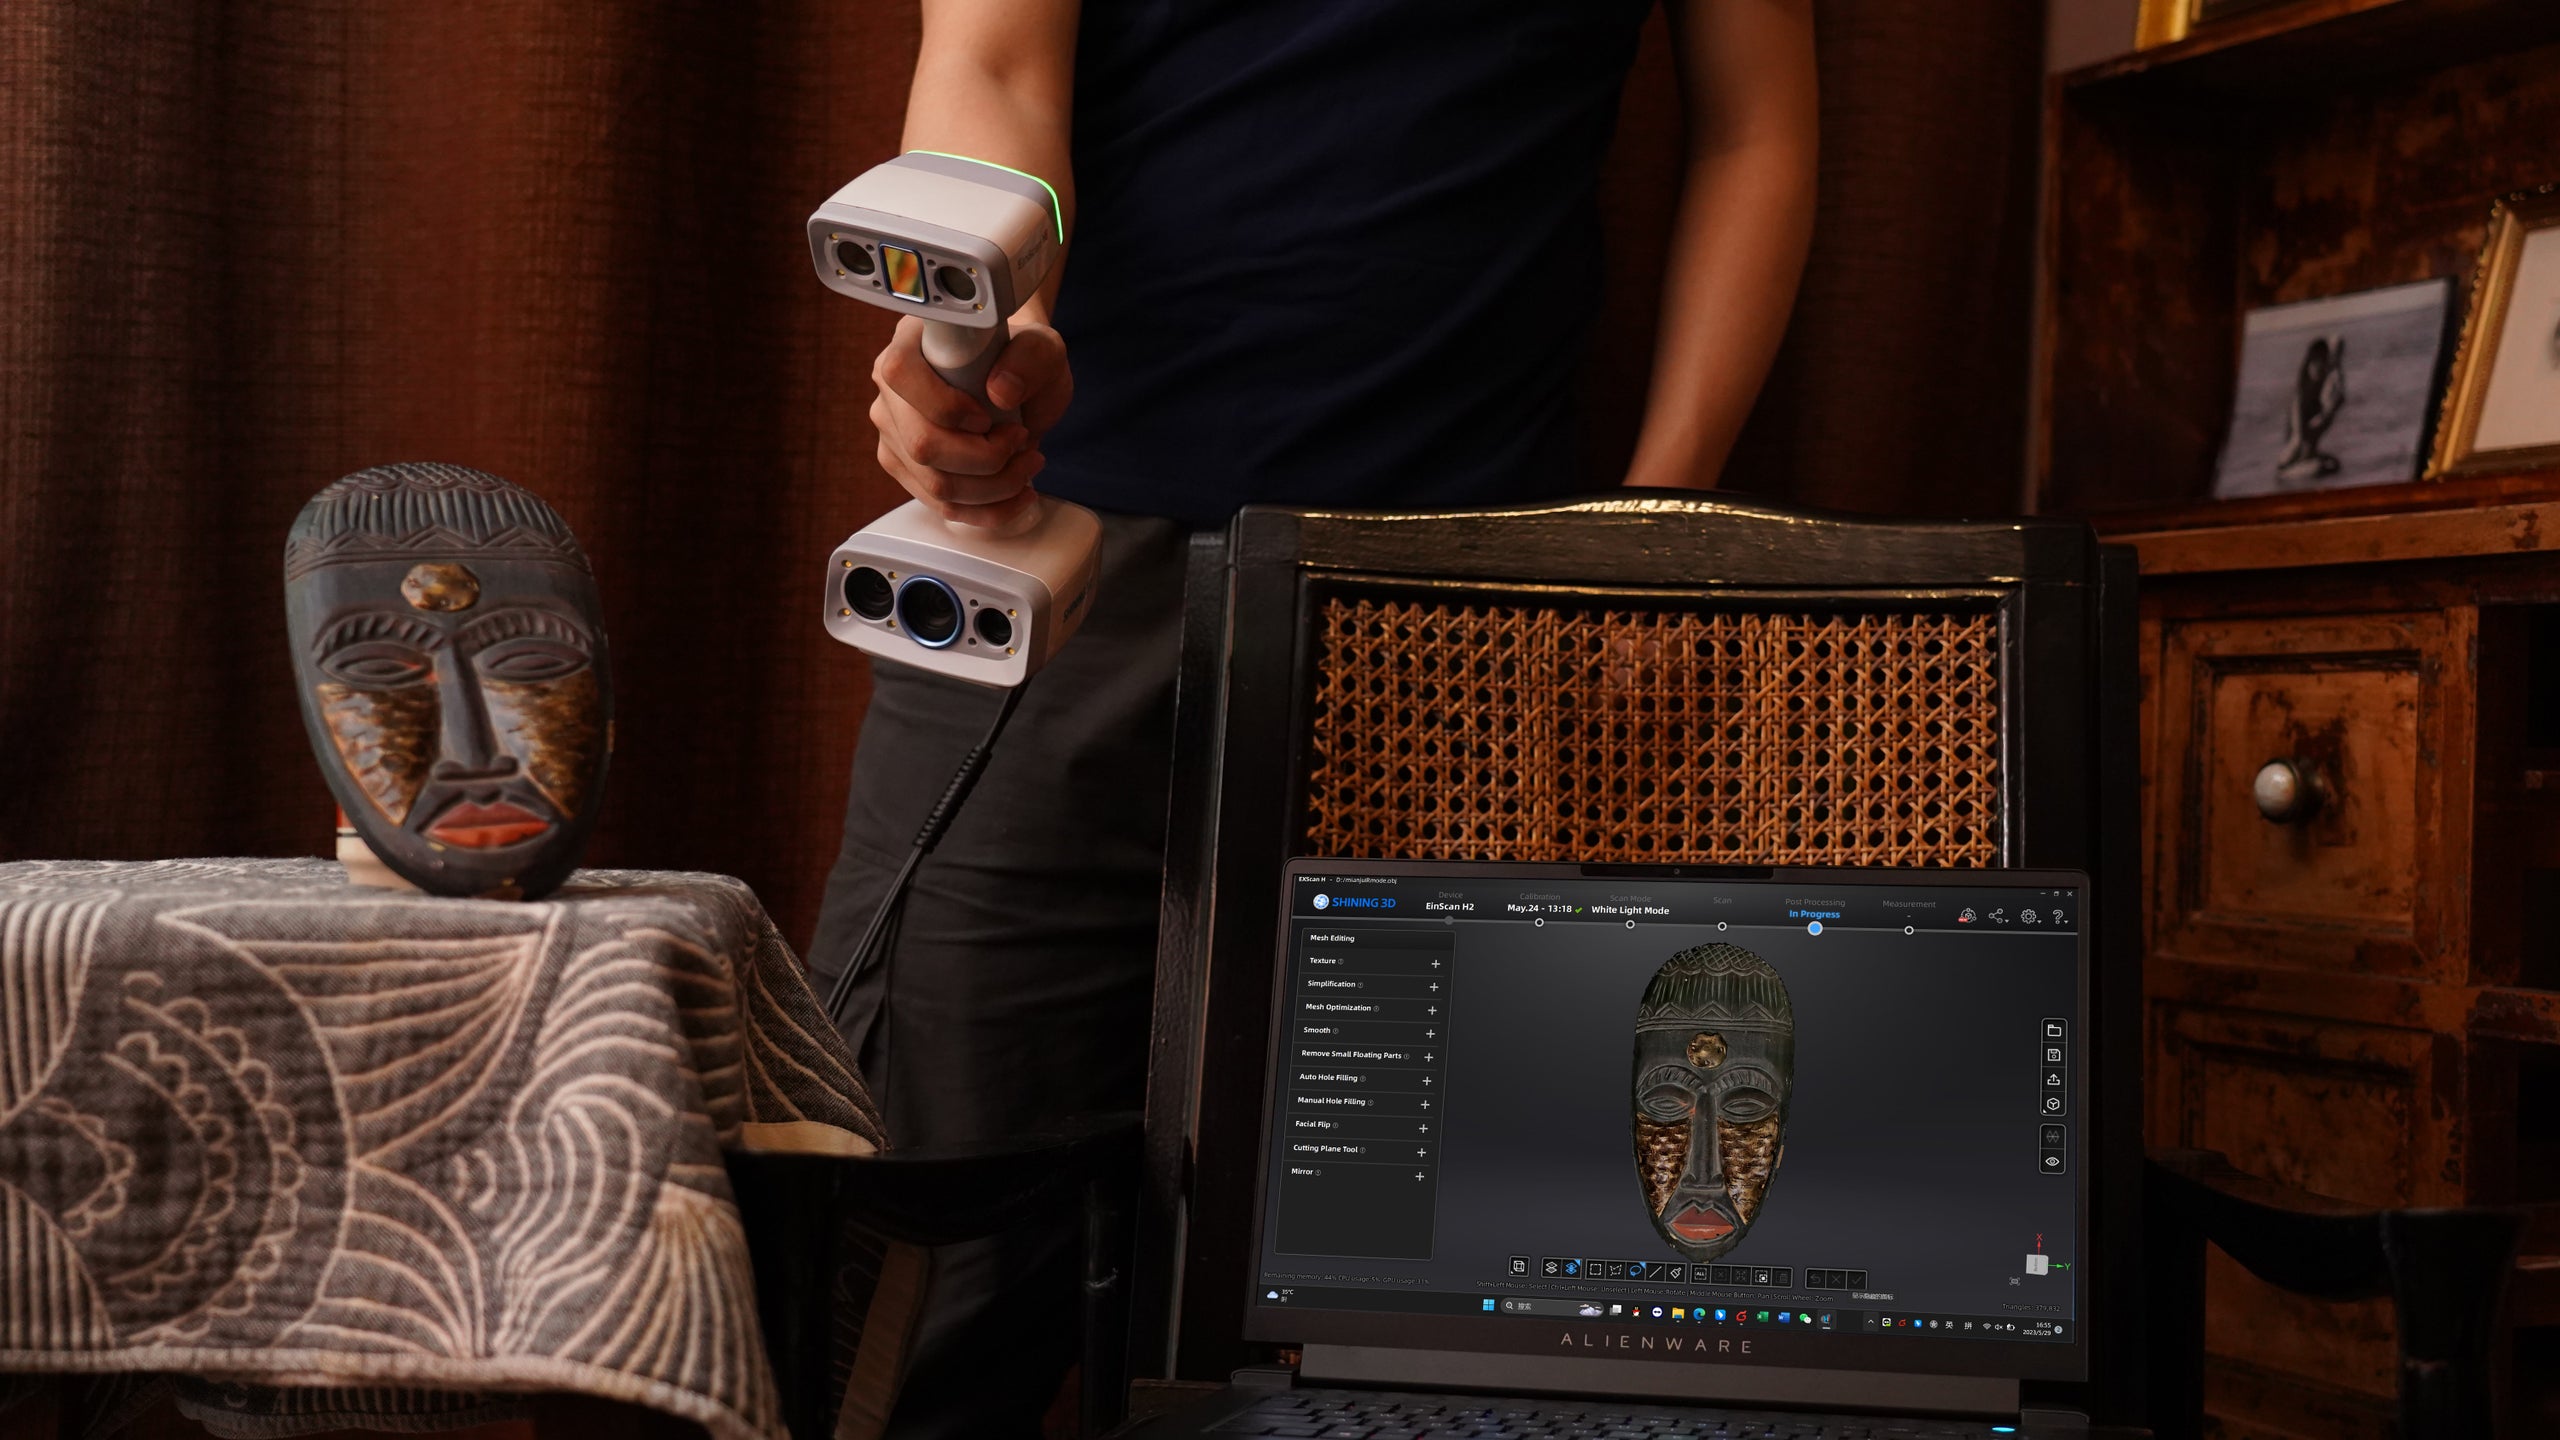
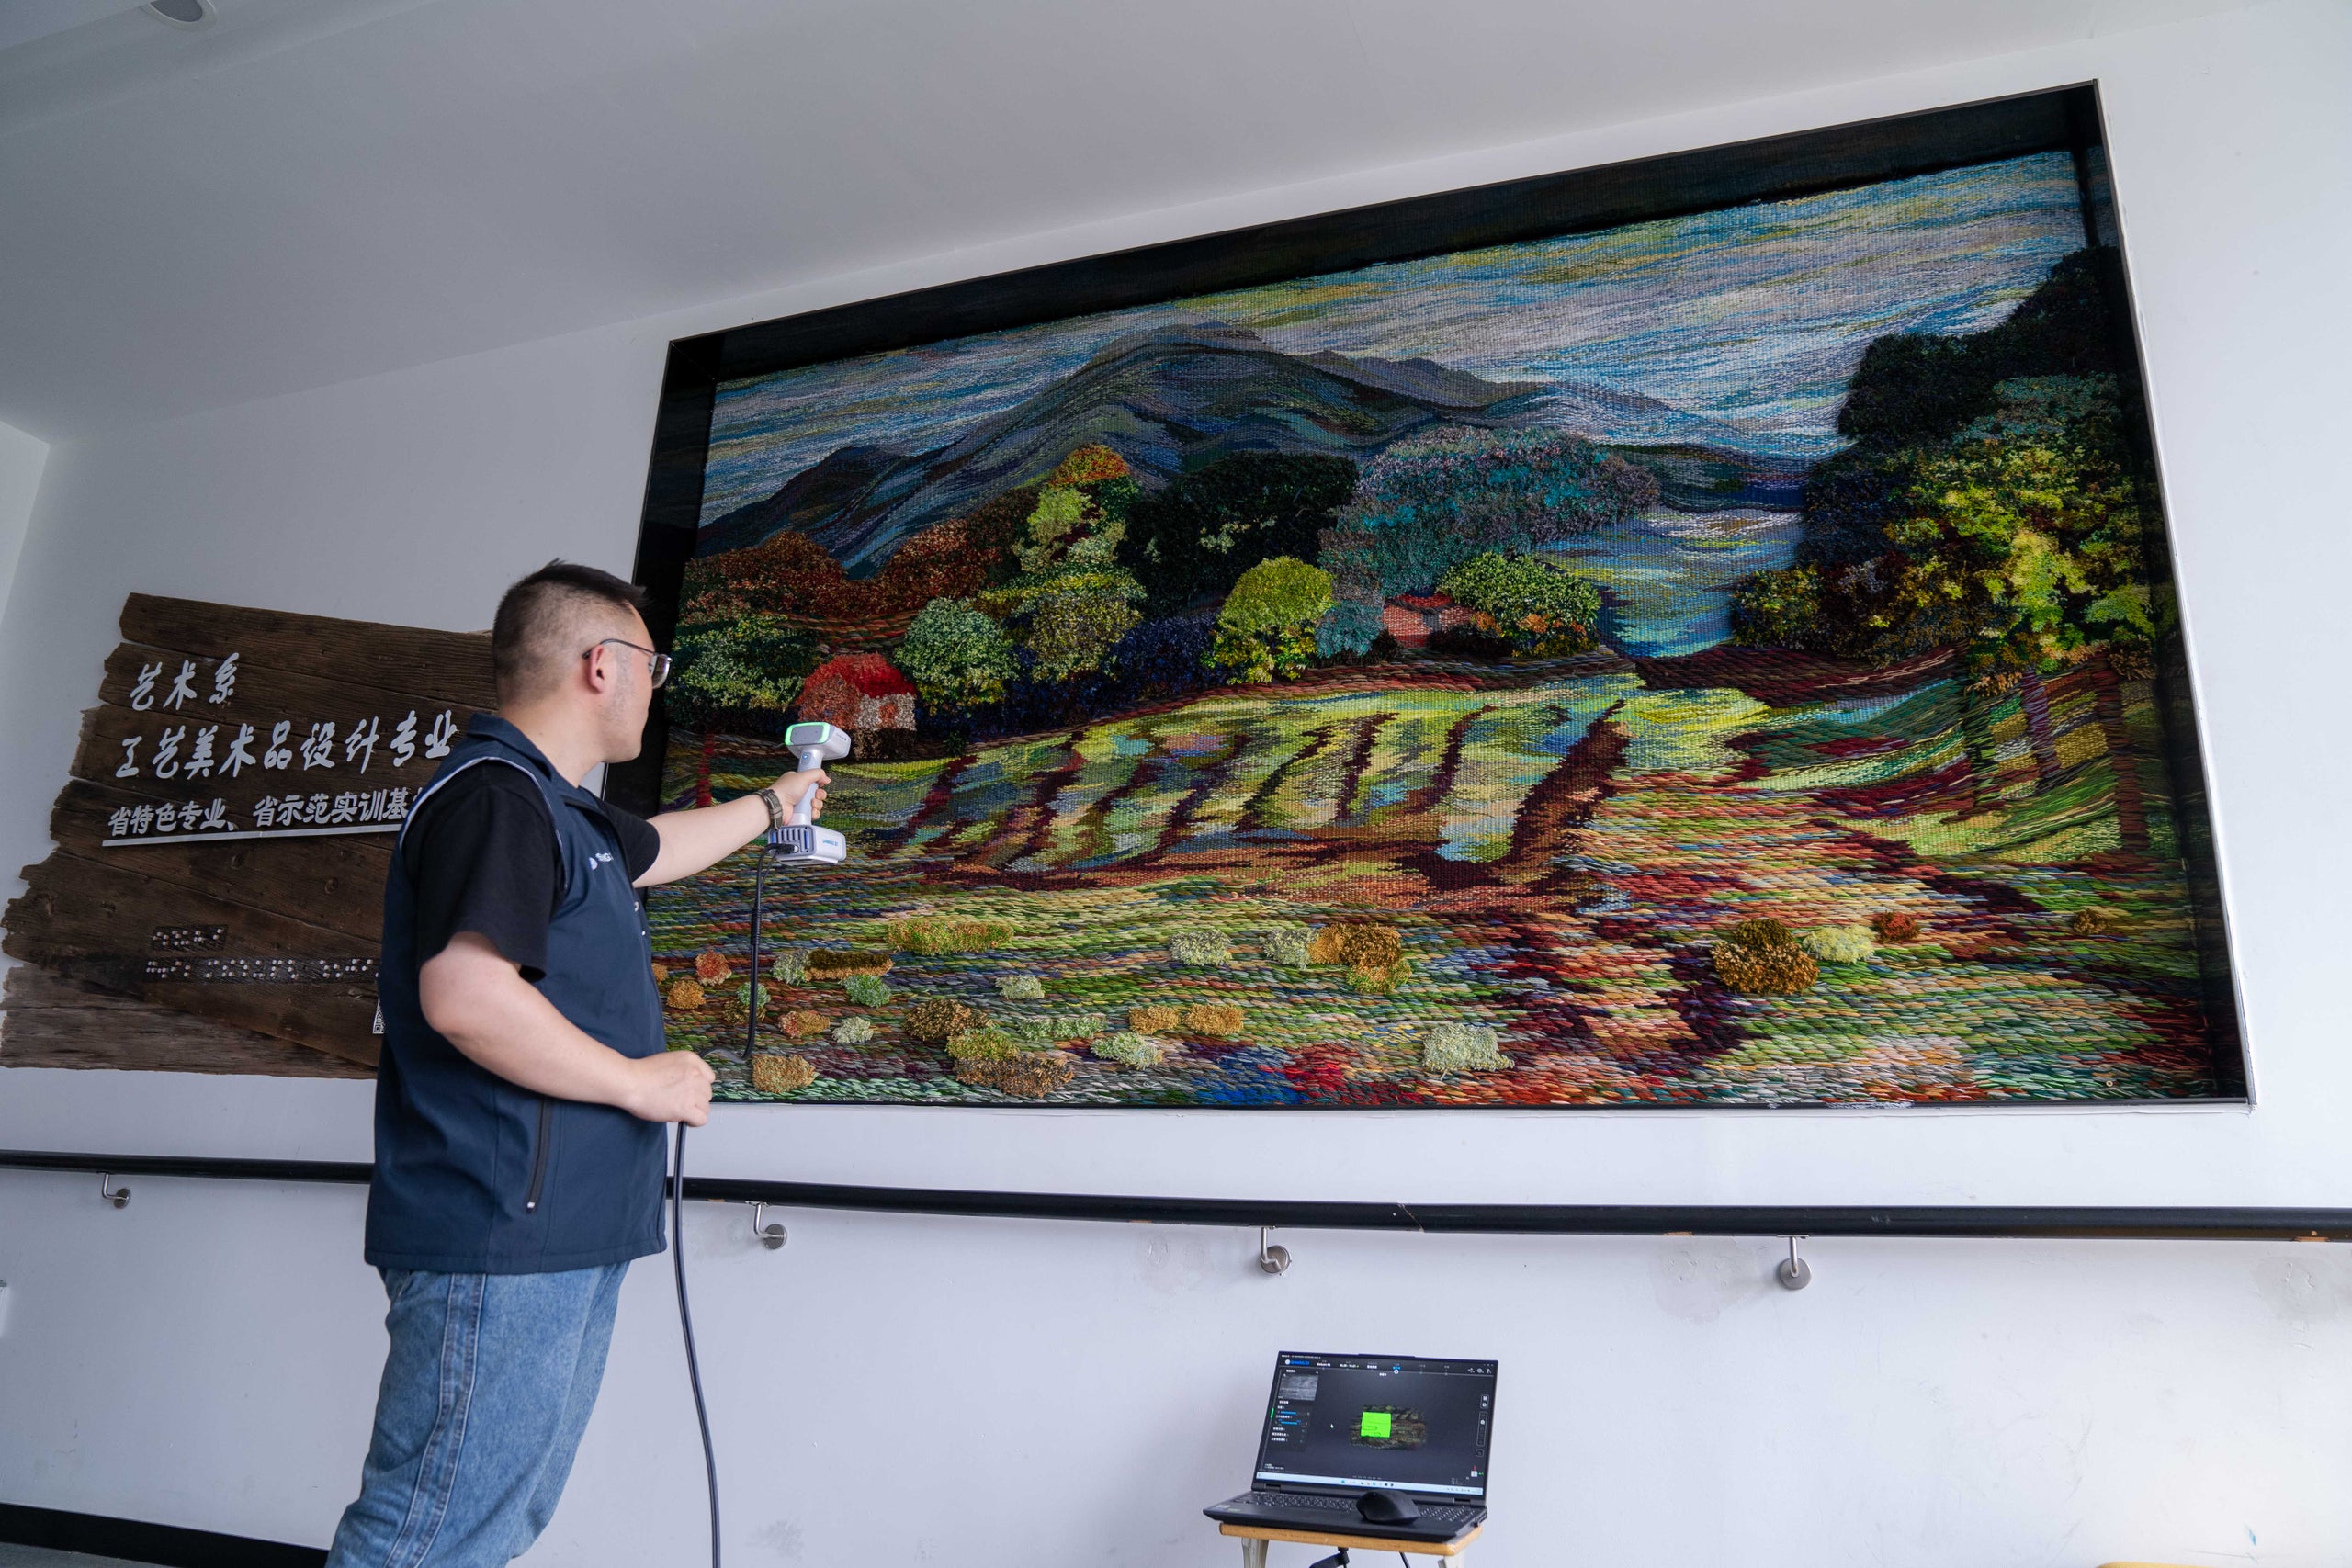
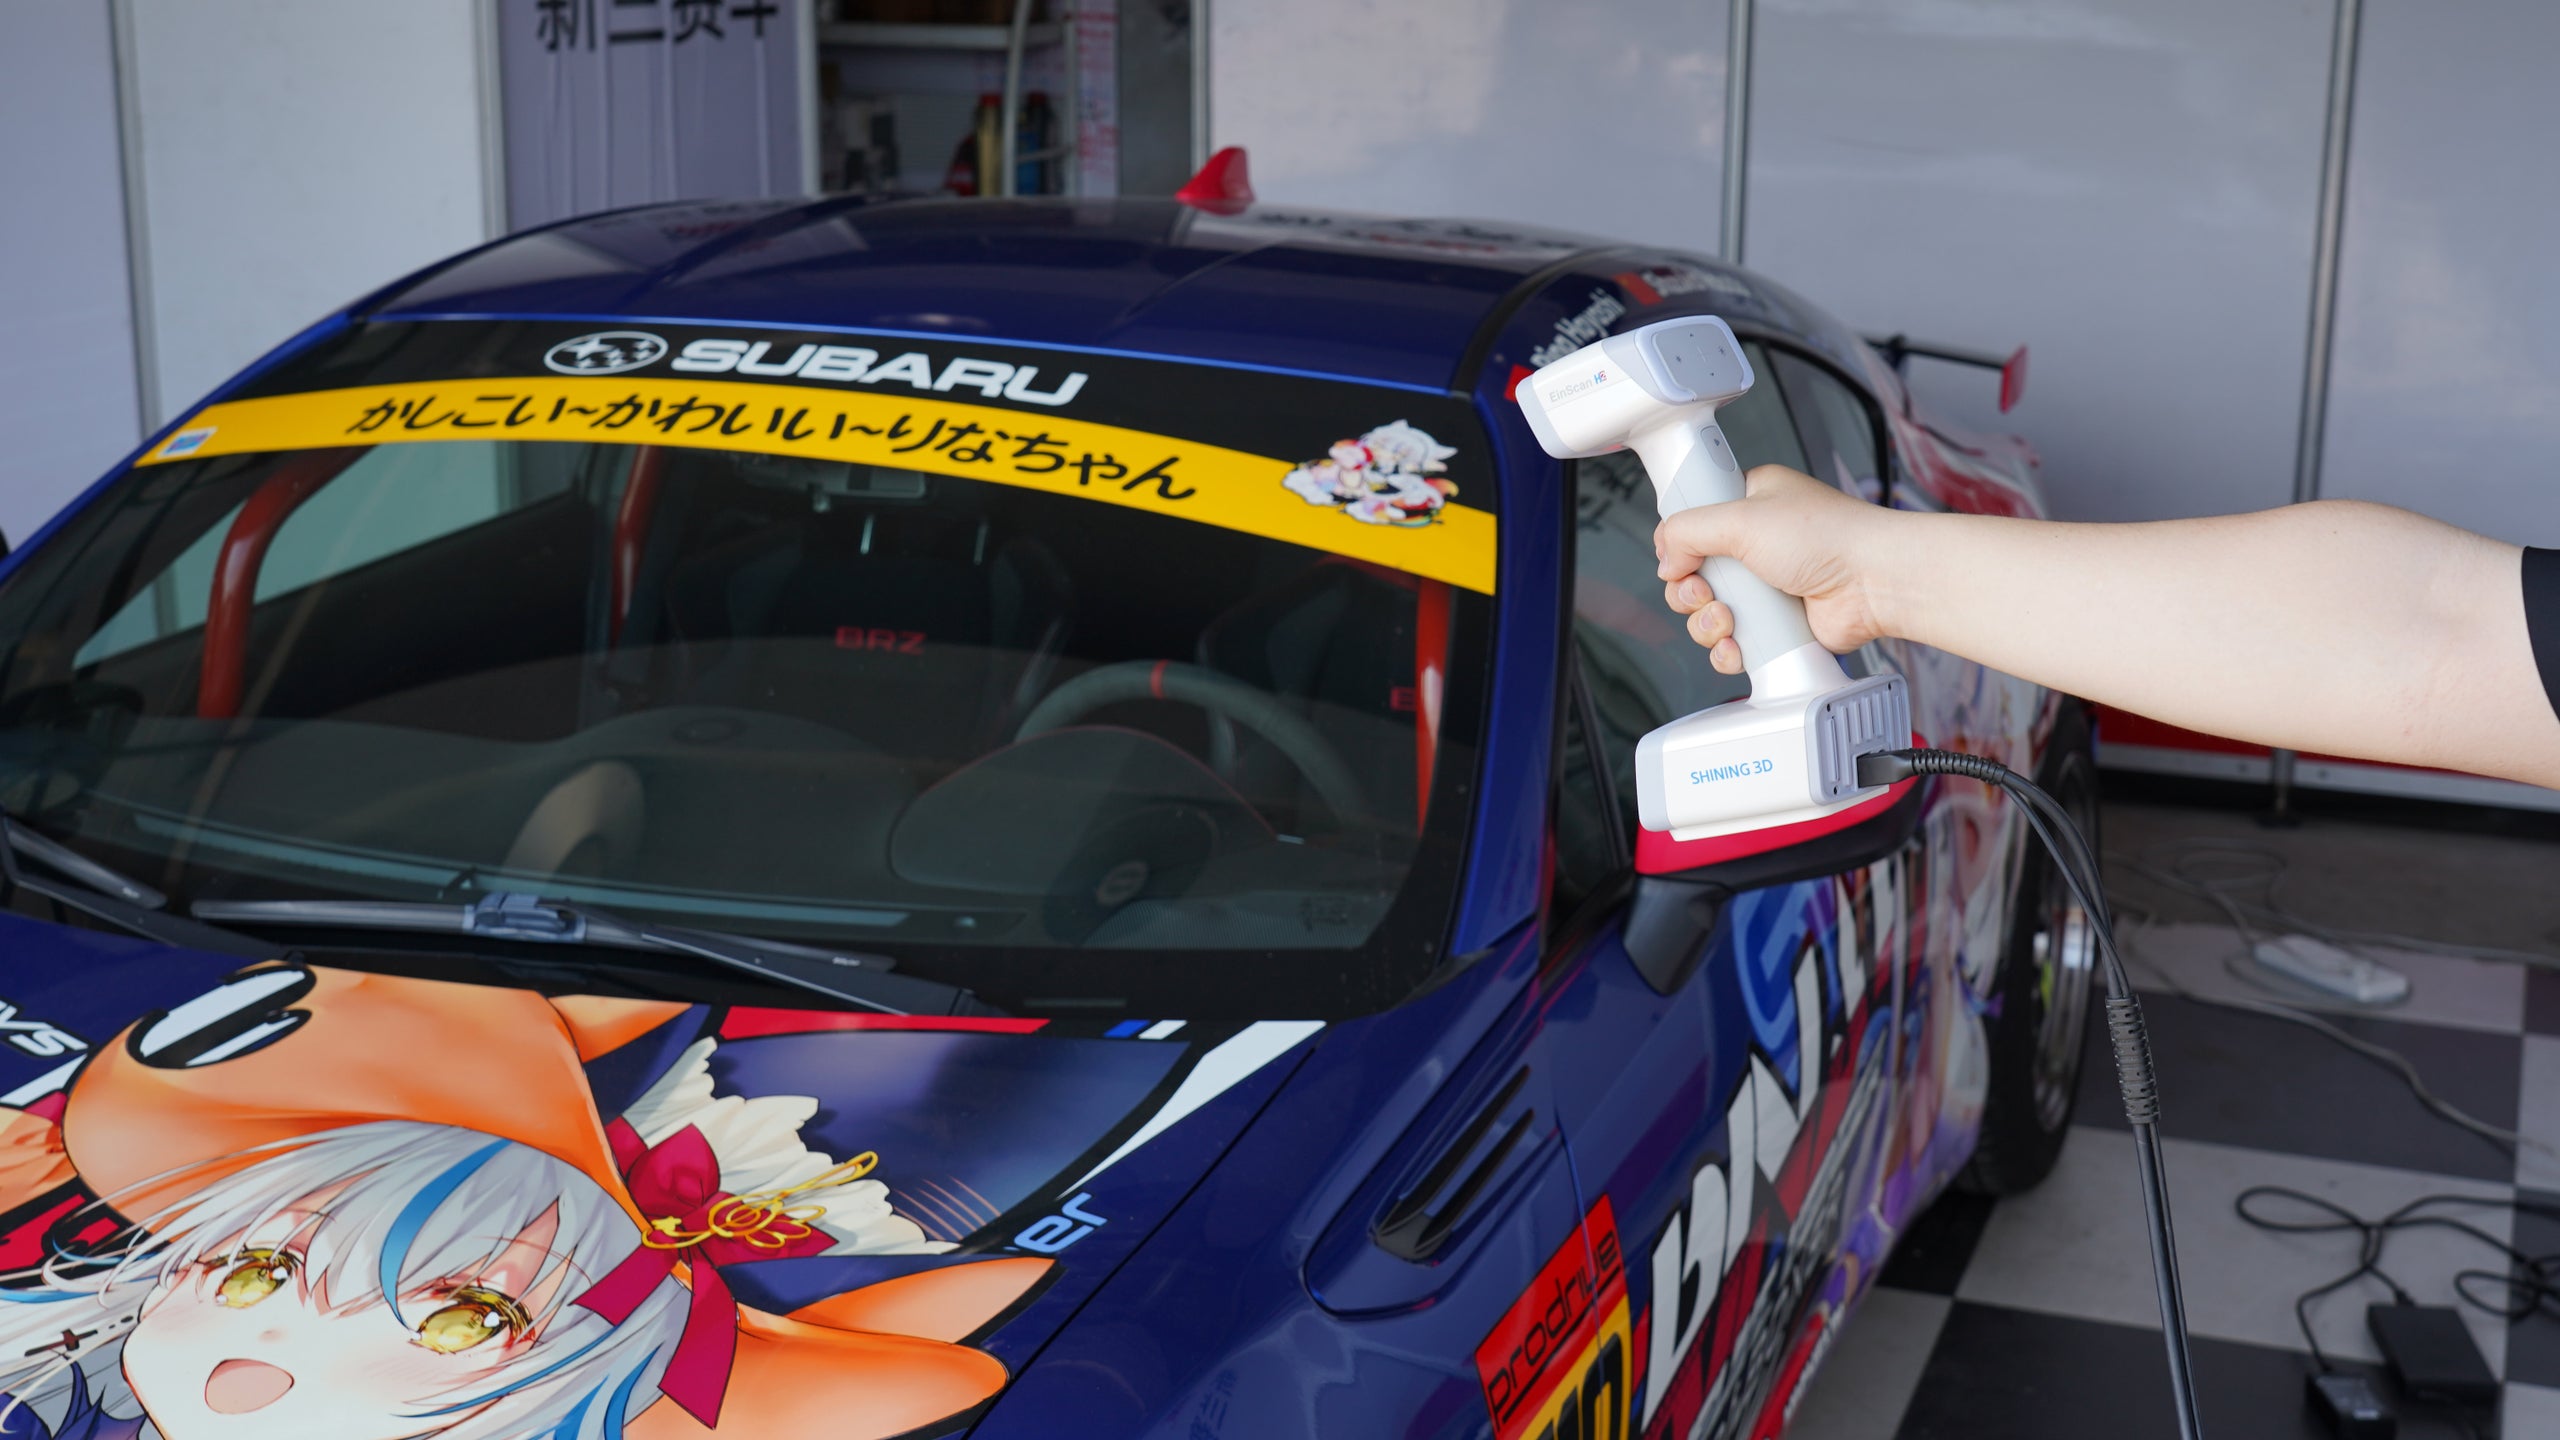
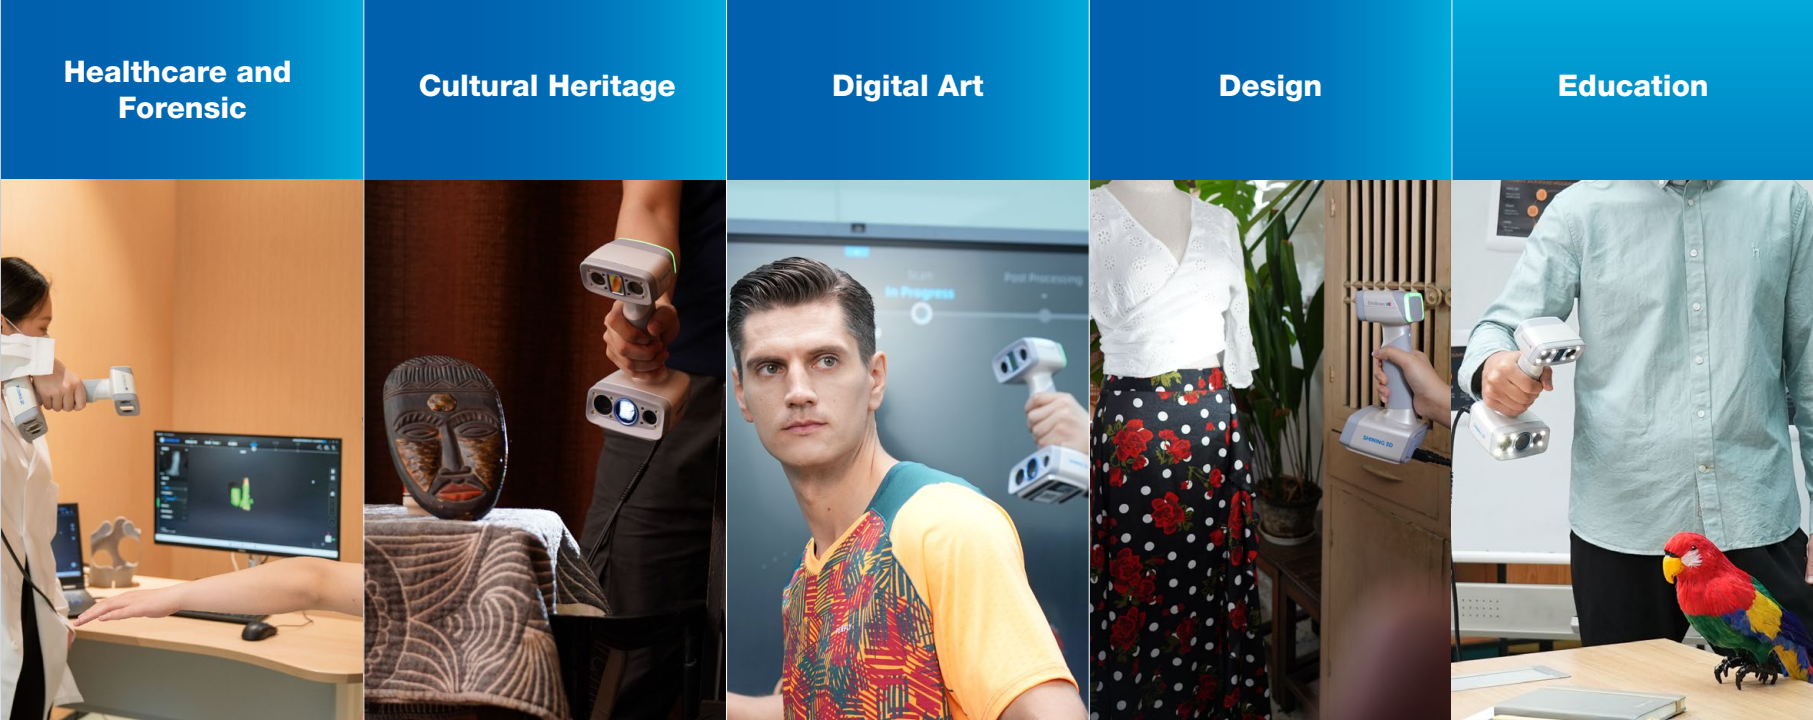
EinScan H2 Applications

Picture

You may also like

EinScan Pro HD

$7,699.00
Shop

EinScan HX2

$9,999.00
Shop

EinScan H2 Orthotics and Prosthetics Workflow


Benefits of the Digital W
orkflow
  • ​Personalization: Creates prosthetics that are highly customized to the individual's physiological and lifestyle needs.​
  • Efficiency: Reduces production time and allows for rapid prototyping and adjustments.
  • Innovation: Enables the design and production of complex, lightweight structures that were not possible with traditional manufacturing methods.
  • Patient Involvement: Facilitates a more collaborative approach, allowing patients to have a say in the design and functionality of their prosthetics.
  • Step 1:  3D Scanning
  • ​Step 2: Design Prosthetics
  • Step 3: 3D Print or Mill
  • Step 4: Fitting
  • Step 5: Monitor & Follow Up
<
>
  • Patient Consultation: Begin with a detailed consultation to understand the patient's specific needs, medical history, lifestyle, and expectations from the prosthetic.
  • ​3D Scanning: Use a 3D scanner EinScan H2 to capture precise measurements (0.02 mm accuracy) and the contour of the limb or body part where the prosthetic will be fitted. This scan generates a digital model that serves as the foundation for designing the custom prosthetic.
  • Import Scan Data: Load the 3D scan data into a CAD (Computer-Aided Design) program specialized for prosthetic design. This software allows for intricate manipulation of the model to tailor the prosthetic to the patient’s exact dimensions.
  • ​Customization: Modify the design to ensure optimal fit, function, and aesthetics. This can include adjusting the shape, adding sockets for comfort, customizing the grip for hand prosthetics, or integrating components for mobility and flexibility. The software that we recommend for customization is from Radii Devices.
  • Simulation: Utilize software tools to simulate how the prosthetic will perform under various conditions, making adjustments as necessary to ensure durability and comfort.
  • Feedback Loop: Work closely with the patient and healthcare professionals to refine the prosthetic design based on feedback, ensuring it meets the user's needs and preferences.
  • Software companies for 3D design: Radii Devices , Spentys , Qwadra
Vertical Divider
3D Printing
  • Material Selection: Choose suitable materials for 3D printing the prosthetic, considering factors like strength, weight, flexibility, and patient comfort. Options include PLA, ABS, TPU, and composite materials.
  • 3D Printing: Use a 3D printer to create the prosthetic from the final design. The printer constructs the prosthetic layer by layer, following the digital model with high precision.
  • Post-Processing: After printing, the prosthetic may require post-processing, such as removing support structures, sanding for smoothness, or applying finishes for aesthetics and durability.
  • 3D Printer Manufacturers: HP , Mosaic ​​
Robotic Milling
  • Material Selection: Based on the design requirements, select a suitable material for the prosthetic. Materials can range from lightweight metals and polymers to advanced composites, depending on the strength, flexibility, and weight considerations.
  • ​CAM Processing: Use Computer-Aided Manufacturing (CAM) software to translate the CAD model into a set of instructions for the robotic milling machine. This process involves choosing the appropriate tool paths, cutting speeds, and other machining parameters.
  • Milling the Prosthetic: Load the selected material into the robotic milling machine, which then carves out the prosthetic component based on the CAM instructions. Robotic milling is capable of producing parts with high precision and excellent surface finish.
  • Post-Milling Finishing: After milling, the prosthetic components may require additional finishing, such as sanding, polishing, or painting, to prepare them for assembly and fitting.
  • Robotic Milling Companies: Roboticom , Vorum
  • Initial Fitting: Arrange a session to fit the prosthetic on the patient, evaluating its comfort, alignment, and functionality.
  • Adjustments: Make any necessary adjustments. Some issues can be resolved by modifying the printed prosthetic, while others might require re-designing and reprinting.
  • Training and Rehabilitation: Provide training on using the prosthetic, which might include physical therapy or exercises to improve comfort and functionality. Collect feedback for any further refinements
  • Regular Check-Ups: Schedule follow-up appointments to monitor the patient's adaptation to the prosthetic, addressing any wear and tear or changes in the patient's condition.
  • Reassessments: Reassess the fit and functionality of the prosthetic periodically, especially for growing children or changing needs, to determine if new scans and adjustments are necessary.


​EinScan H2
SDK

​https://github.com/Shining3D/H1.2SDK
Your browser does not support viewing this document. Click here to download the document.

​Terms and Conditions
  • Returns accepted within 30 days of purchase
  • Unopened returns subject to a 5% restocking fee
  • Open returns are subject to a 20% restocking fee on the condition there is no damage and kit returned complete 
  • Return shipping costs are paid by the returner
Vertical Divider

GROWSHAPES

963 Topsy Ln STE 306  PMB 245, Carson City, NV 89705
​+1 408-667-6877
​
Email: [email protected]

Stay connected

Menu

Shipping & Returns
3D Scanning Products
Terms and Conditions
About Us
EinScan Gold Expert badge, Shining 3D Official Reseelr Badge
Picture
  • 3D Scanner Store
    • Shop Best Sellers
    • Handheld 3D Scanners
    • Desktop 3D Scanners
    • Rent & Try Before You Buy
    • Shining 3D
      • EinScan Reverse Engineering Packages
      • EinScan Libre
      • EInScan HX2
      • EinScan HX
      • EinScan H2
      • EinScan Pro HD
      • EinScan Pro 2X V2
      • Transcan C
      • EinScan SP V2
      • EinScan SE
      • Einstar
      • EXModel Software
      • EinScan Accessories
        • Industrial Pack for EinScan Pro Series
        • Color Pack for EinScan Pro Series
        • EinScan Pro Power Bank
    • Matter and Form
    • eviXscan3D
      • eviXscan3D Quadro+
      • eviXscan3D Optima + M
      • eviXscan3D WideRange 65
      • eviXscan3D Fine Precision
      • eviXscan3D Suite 2.8
      • eviXmatic
    • 3D Scanner Sale!
  • Learn More
    • Support & Training Videos
    • 3D Scanning FAQ
      • EinScan 3D Scanner FAQ
      • HP 3D Scanner FAQ
    • Case Studies
    • 3D Scan Gallery
  • 3D Scan Blog
  • Contact Us
  • About
    • Terms and Conditions
    • Privacy Notice
    • Fact Sheet